
3D Printers
& Large Parts
Tips & Tricks
Introduction
I must have owned a 3d printer for a whole year before I started to understand what an essential tool this is for cockpit building. I was always dismayed with how long the parts took to create. As time passed, I became to rely on this machine for prototyping and it has quickly become my number 1 go-to tool. The fact that this machine can produce nearly any part you can create on CAD is amazing.
With a little time and understanding, you can create things that normally would be out of somebodies price range such as the throttle assemblies or controls. Many simmers use this to create panels for there sim.

Karl recommends the Bambu Labs X1 Carbon and the P1S as top-tier 3D printers for DIY flight simulator builds. While the X1 Carbon is praised for its advanced features like automatic calibration and high-speed, high-quality printing, Karl highlights the P1S as a more affordable alternative that delivers nearly identical performance.
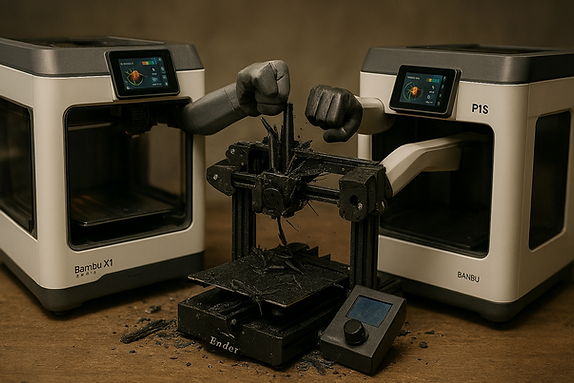
He notes that the P1S is “just as good” for most cockpit components, making it an excellent choice for builders who want premium results without the higher price tag. With this leap in technology, print speeds have dramatically increased compared to older-generation printers—reducing print times from days to mere hours.
Both models are ideal for printing parts like the 737 MCP v14, including intricate elements such as Korry switches and faceplates, and they represent a significant advancement in ease of use and reliability for hobbyists and professionals alike.
I'm a paragraph. Click here to add your own text and edit me. It's easy.
How to Seamlessly Join and Smooth 3D Printed Parts
🔩 Step 1: Weld the Parts Together
Tools Needed: Soldering iron (with a fine tip)
-
Align the parts and use a soldering iron to melt along the seam, fusing the plastic.
-
Create a V-shaped groove along the join—this strengthens the bond and forms a channel for filler.
-
Let the plastic cool completely before proceeding.
✅ Why this matters: This method prevents future cracking along the seam and creates a stronger, unified part.
🧽 Step 2: Clean and Sand
Tools Needed: Sandpaper (120–220 grit), hobby knife, deburring tool
-
Remove any protruding plastic or stringing.
-
Sand the seam and surrounding area to smooth out rough edges.
-
Clean with water and let dry, then wipe down with isopropyl alcohol to remove oils and dust.
Step 3: Fill the Seam
Option A: Wood Filler
-
Apply filler into the V-groove and over any gaps.
-
Let it dry, then sand smooth.
-
Repeat as needed.
Option B: UV Resin + Powder
-
Mix UV resin with fine powder (e.g. cornstarch or graphite).
-
Brush on thin layers, cure under UV light or sunlight.
-
Sand between coats.
🎨 Step 4: Prime and Paint
Tools Needed: Filler primer spray, colour spray paint, clear coat
-
Prime with a thick-film filler primer.
-
Sand with 320 grit.
-
Clean again (water → dry 24h → isopropanol).
-
Paint with your chosen colour (e.g. RAL 7011 for Boeing-style panels).
-
Wet sand up to 2000 grit for a polished finish.
-
Apply 2 layers of matte clear coat.
💡 Pro Tips
-
Warm spray cans to room temperature before use.
-
Shake cans for 2 minutes before spraying.
-
Spray upside down after use to clear the nozzle.
-
Use nearly empty cans only for rough coats or sanding stages.
-
Wood filler is water-soluble—easy to clean with a damp cloth.
🕒 Time Investment
This process can take several days to a few weeks, depending on the complexity and your desired finish. But the result? A part that looks and feels like it came out of a mould.